
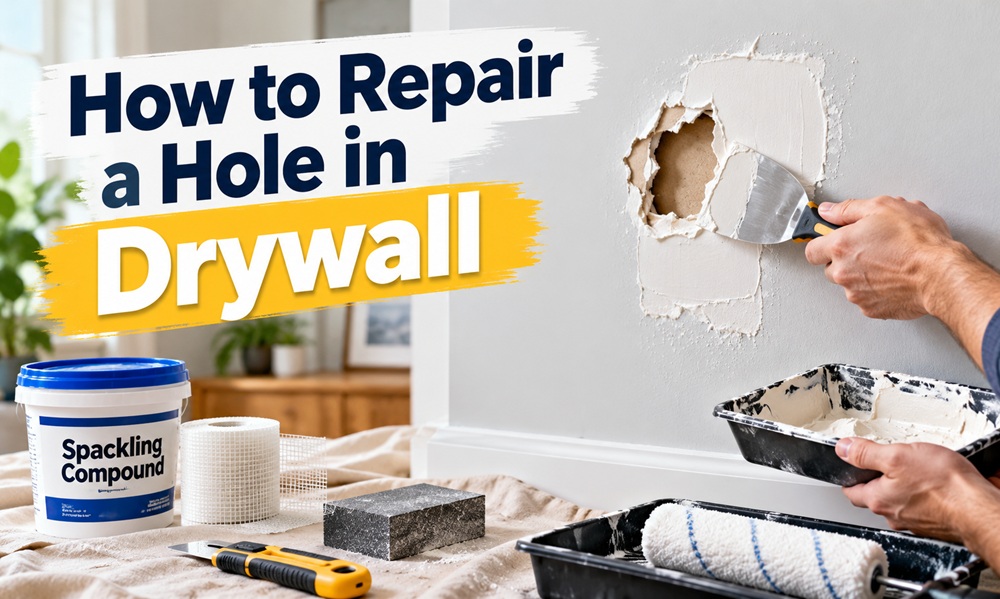
You can fix nearly any hole in drywall yourself, and the right method depends on one thing, how big the hole is. Nail holes need a dab of spackle. A doorknob dent needs a self-adhesive mesh patch. Anything much bigger than a few inches needs a piece of new drywall cut to fit. Here’s how to match the method to your hole, what to buy, and how to finish the wall so the repair doesn’t show once the paint dries.
Match the repair to the hole
| Hole size | Best approach | Main materials |
|---|---|---|
| Nail or screw holes | Fill and sand | Lightweight spackle |
| Up to about 2 inches | Self-adhesive mesh patch | Mesh patch, joint compound |
| About 2 to 6 inches | Patch kit with a rigid backing | Patch kit, joint compound |
| Larger than 6 inches | Cut-in drywall piece | Drywall scrap, backing strips, screws, tape, joint compound |
Tools and supplies
Most of these repairs call for the same short list. You’ll want a 6 inch putty knife and a wider 10 or 12 inch knife for feathering the edges, a fine-grit sanding sponge, a utility knife or drywall saw, premixed joint compound, primer, and paint that matches the wall. For larger holes, add drywall tape, a few drywall screws, and some scrap wood. Wear a dust mask when you sand, because joint compound dust gets everywhere and isn’t something you want in your lungs.
Before you cut or sand anything
Two quick checks save trouble. If the hole sits near an outlet or switch, shut off that circuit and look inside before you cut, since wires and pipes can run closer to the surface than you’d expect. And if your house is older, especially one built before the 1980s, the joint compound, texture, or paint on the wall may contain asbestos or lead. Test kits and lab testing are available, and it’s worth knowing the answer before you create dust.
Nail holes and small dings
Press lightweight spackle into the hole with a putty knife, leaving it very slightly proud of the wall. Let it dry fully, then sand it flush with a fine sponge and wipe off the dust. Prime the spot before painting. Bare spackle absorbs paint differently than the wall around it, and without primer you’ll often see a dull patch even under a fresh coat.
Medium holes with a mesh or metal-backed patch
For a doorknob-size dent or a spot where an anchor ripped out, a self-adhesive patch is the quickest route.
- Trim away loose paper and crumbled gypsum around the edge, then wipe off the dust.
- Peel the backing and press the patch flat over the hole, centered, smoothing from the middle outward.
- Spread a thin coat of joint compound over the patch, reaching a couple of inches past its edges, and hold the knife nearly flat so the compound doesn’t pile up.
- Let it dry according to the label. Thick coats take much longer than you’d think.
- Apply a second coat that reaches a little wider than the first, then sand lightly once it has dried.
- Add a third, very thin coat if you can still see the patch edge, sand again, then prime and paint.
Large holes
Once a hole passes about six inches, a patch kit won’t be strong enough, and you’ll want to replace the damaged section with new drywall.
Cut a clean opening
Trace a square or rectangle around the damage and cut along the lines with a drywall saw or a utility knife, scoring through the paper face and then cutting through the gypsum. Square openings are much easier to fit than ragged ones. Remove the broken piece and look inside for wires, pipes, or insulation.
Add backing
The new piece needs something to screw into. If one side of the opening lands on a stud, you can fasten to it directly. Otherwise, cut two strips of 1×3 or similar scrap that are longer than the opening is tall, slide them in behind the wall on each side, and pull them tight against the back of the existing drywall with screws driven through the wall surface. Those strips become the anchor points for your patch.
Install and finish
Cut a patch from scrap drywall of the same thickness, about an eighth of an inch smaller than the opening, and screw it to the backing, sinking the screw heads just below the surface without tearing the paper. Cover the seams with joint tape, then apply thin coats of joint compound, widening each coat and letting each one dry before the next. Plan on three coats. Sand between coats with a light hand, and stop when the edges disappear into the wall.
How long the repair takes
The work itself is quick, but drying is not. A nail hole can be ready to sand in under an hour, while a medium or large patch usually takes a day or two once you allow for three coats. Humid rooms and thick coats stretch that further. If you need the room ready by a weekend, start early in the week. Quick-setting powder compound, which hardens through a chemical reaction instead of evaporation, is handy for the first fill on a deep hole, though it’s harder to sand than premixed compound, so save it for the base layer.
Matching the texture and the paint
A smooth patch on a textured wall is easy to spot. Hardware stores sell spray texture in cans for orange peel and knockdown finishes, and sponge or brush techniques work for other patterns. Practice on a piece of cardboard first, since the texture is hard to undo once it’s on the wall.
Prime every repair before painting. Then paint the entire wall to the nearest corner if you can. Even a good color match can look slightly different over a new patch because the sheen and the age of the paint don’t quite line up, and painting a full wall hides the transition.
Mistakes that make a patch show
The most common problem is a single thick coat of compound, which shrinks and cracks as it dries. Patches that are too narrow leave a visible hump, so feather each coat well past the last. Skipping primer leaves a dull spot. Sanding hard enough to tear the paper face of the drywall creates fuzzy areas that show through paint and need sealing before you continue. And painting before the compound is fully dry traps moisture, which can bubble the finish.
When a hole points to something else
Most holes come from doorknobs, furniture, and old anchors, and they’re simple to fix. If the drywall around the hole is soft, stained, or crumbling, water may be the real problem. Find and fix the leak first, let the area dry, and replace any damaged material, because covering a wet wall only hides mold and rot. Holes in a ceiling can also be trickier since the panel has to be held up while you fasten it, so ask someone to help you hold the piece in place.
Last thoughts
A good drywall repair is mostly patience. Thin coats, enough drying time, and a bit of careful sanding will do more for the finished look than any special tool. Pick the method that fits your hole, take your time with the finishing, and the wall will look like it was never damaged.